Create Custom Domain Tag
Creating a custom tag requires action by an authorized DNS administrator for the client. For steps that require DNS admin action, it will be noted in the instructions.
Step 1. Client DNS Admin creates host name for the domain hosted by client for tag service (example – tag.clientdomain.com). This action is performed by the DNS admin in their hosted DNS service (or their DNS server).
The new DNS record set should use AuriQ Systems Application Load Balancer DNS name as the record target.
mydata-load-balancer-1957641897.us-east-1.elb.amazonaws.com
Example
In the example shown below, we use Amazon Route 53 to create our host name for the tag service using the following settings:
- Name: demotagtest.pivotbillions.com
- Type: CNAME
- Target: mydata-load-balancer-1957641897.us-east-1.elb.amazonaws.com
(Please note that if you are not using Route 53, your DNS configuration settings may differ.)

Step 2. From the AuriQ Systems UI, client will access the Tag Setting section. From here select the Request SSL Certificate option as shown here:

Step 3. Enter the host name created in step 1 into the Domain Name Field and click on the Request button.

After the “Need to verify through DNS” message displays, click on the Cancel button to close the form.
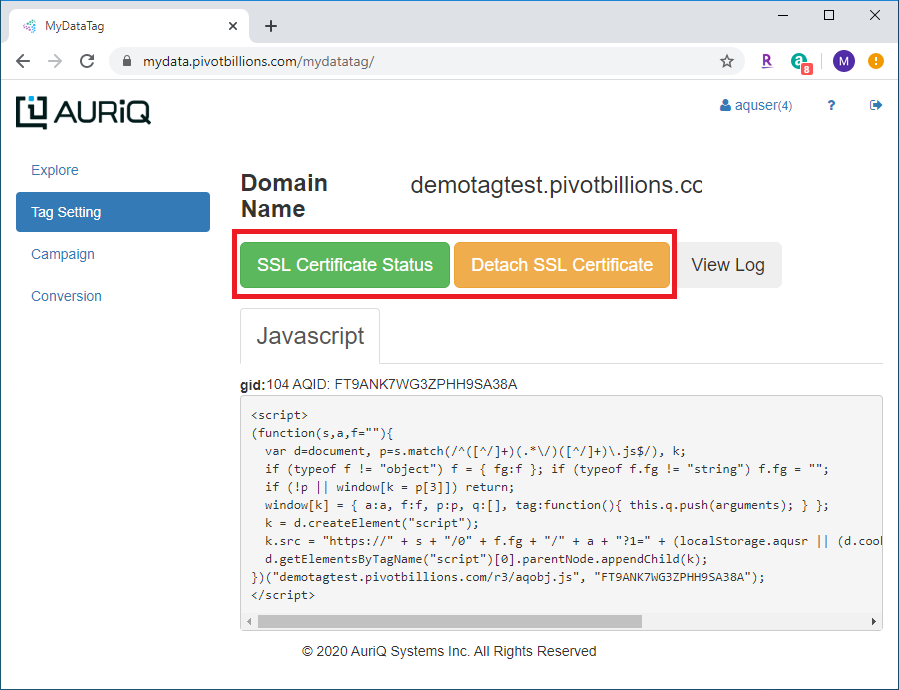
Step 4. The Tag Setting section should now display the following options.

Click on the SSL Certificate Status option to open the status window as shown below:

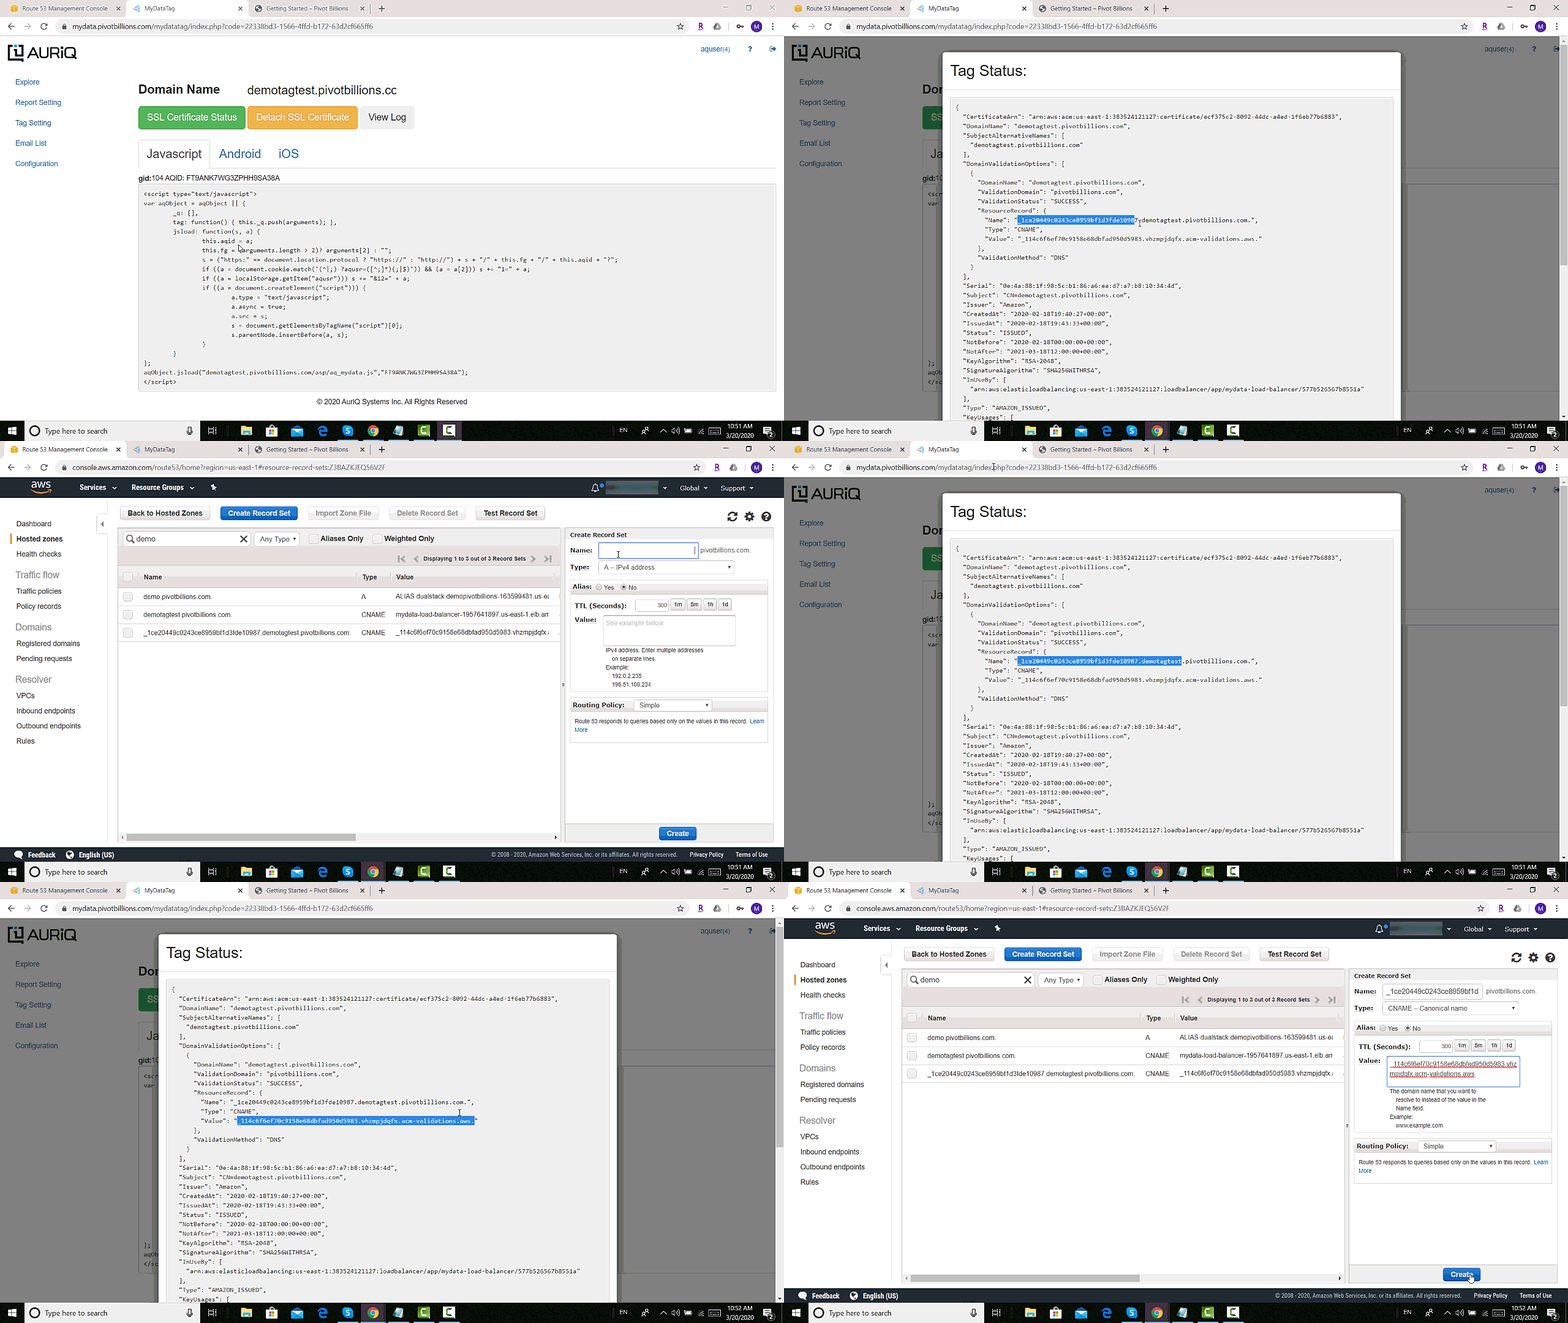
Step 5. From the Tag Status window, copy the DNS record shown below (Name, Type, Value) and then send this to your DNS Admin to add it to Client DNS server

Your DNS Admin will need to create a DNS record using these settings to validate the SSL cert.
- Name (only include portion within quotes and exclude domain)
- Type (select CNAME option)
- Value (only include portion within quotes)
(Please note that if SSL cert is not validated within 72 hours, then you will need to request a new SSL cert. This requires selecting the Remove SSL Certificate option and then starting over from Step 2.)
Example
In the example shown below, we use Amazon Route 53 to create our host name for the tag service using the values from the Tag Status image above.
(Please note that if you are not using Route 53, you may need to disable the option to resolve the Value of your DNS setting, otherwise this may cause an error.)

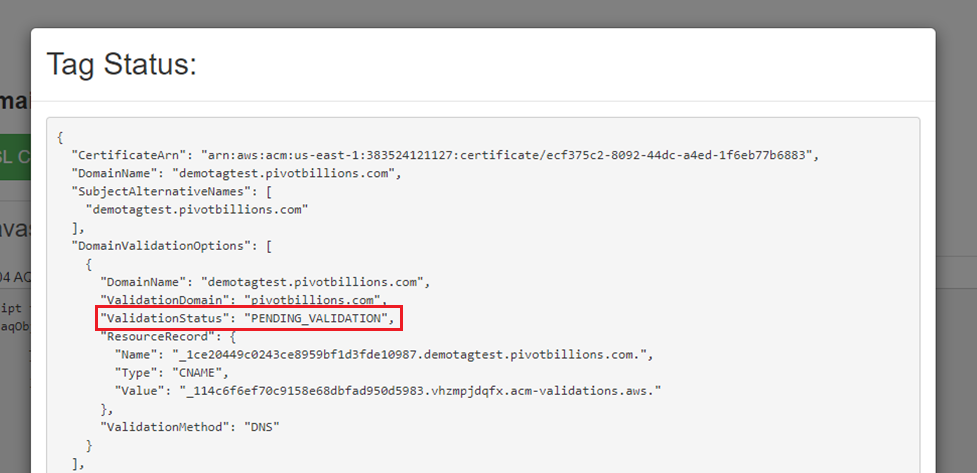
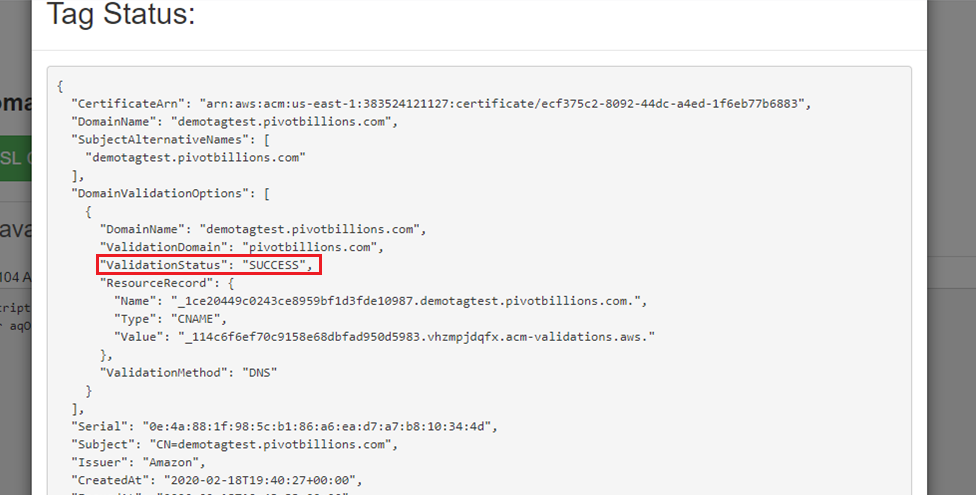
Step 6. After the DNS information has been configured the new SSL certificate should change from “Pending Validation” to “Success”. (Please note this may take up to 15-20 minutes).
Before

After

Step 7. Next click on the Attach SSL Certificate option.

You will be asked to confirm by clicking on the Attach button to attach the SSL certificate.

Step 8. The Tag Setting options will change after attaching the SSL certificate to what is shown below.

Step 9. You can now copy and paste the new custom tracking tag into your web pages anywhere between the <body></body> html tags.
Step 10. After you’ve installed your custom tag, you can verify if they are working properly by clicking on the View log option.

This will pop up the Tag Log that shows real-time firing of the tracking tag.

